How To Crochet Your Own Bluey
Have a go at making your own Bluey! This is very trifficult and best for experienced crocheters. Download the instructions below to get started.
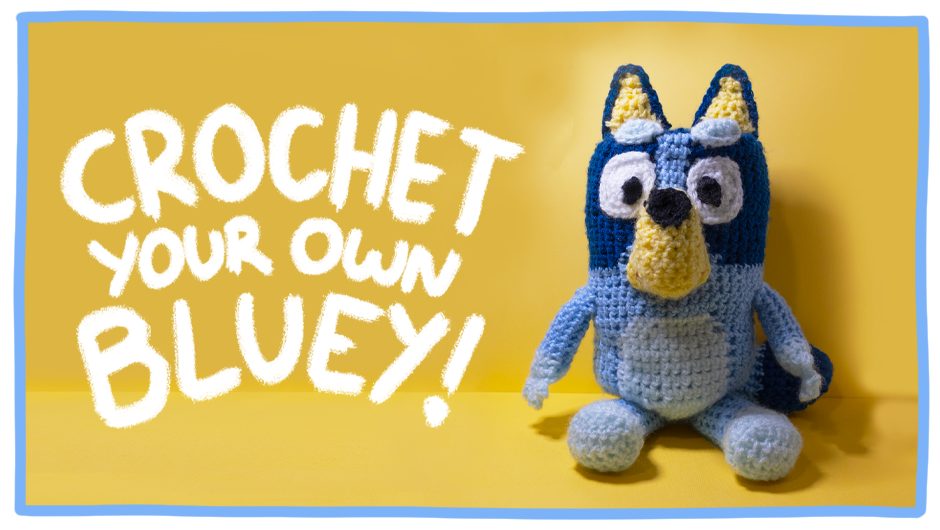
Pattern by Phil Ferguson (@Chiliphilly)
tools you’ll need
- 3.5 mm crochet hook
- Yarn needle
- Scissors
8ply yarn you’ll need:
- Dark blue yarn (C1)
- Blue yarn (C2)
- Light blue yarn (C3)
- Light yellow yarn (C4)
- White yarn
- Black yarn
Other materials you’ll need:
- Polyfill for the filling!
Abbreviations key:
sts = stitches
mc = magic circle
ch = chain
dc = double crochet
inc = double crochet two stitches in the same stitch, increasing the amount of stitches.
dec = double crochet two stitches together (or decreasing using which ever method your prefer)
The total amount of stitches you should have will be in parentheses at the end of each row. Meaning that when you see (20) at the end of a row, it means there will be 20 stitches in that row.
Any repeated actions within a row will also be in parentheses, alongside the amount of times that action will be taken in that row. Example. (2dc, inc) x 10 means two double crochets then increase on the third, repeat this ten times.
(Note: We use the term double crochet in this pattern, but you might call it a single crochet where you live)
In this pattern we will also note when to change colours, and will note when to change colours using their designation (example: 20sts in C1, 5 sts in C2, 20sts in C1 ).
Now you have everything you need – LET’S GO!
BODY
Starting the body in C1 only:
Row 1: Start with a magic ring/circle with 10 stitches
Row 2: 10inc (20)
Row 3: (1dc, inc) x 10 (30)
Row 4: (2dc, inc) x 10 (40)
Row 5: (3dc, inc) x 10 (50)
You will now continue the rows around the circle, changing colours as noted, you may leave a marker if required.
Row 6-13: 23dc in C1, 4dc in C2, 23dc in C1 (50)
Row 14: 22dc in C1, 6dc in C2, 22dc in C1 (50)
Row 15: 21dc in C1, 8dc in C2, 21dc in C1 (50)
Row 16: 20dc in C1, 10dc in C2, 20dc in C1 (50)
Row 17-18: 50dc in C2 (50)
Row 19: 46dc in C2, 2dc in C1, 2dc in C2 (50)
Row 20: 45dc in C2, 4dc in C1, 1dc in C2 (50)
Row 21: 2dc in C2, 2dc in C1, 41dc in C2, 4dc in C1, 1dc in C2 (50)
Row 22: 2dc in C2, 2dc in C1, 42dc in C2, 2dc in C1, 2dc in C2 (50)
Row 23: 21dc in C2, 8dc in C3, 21dc in C2 (50)
Row 24: 20dc in C2, 10dc in C3, 16dc in C2, 3dc in C1, 1dc in C2 (50)
Row 25-27: 19dc in C2, 12dc in C3, 14dc in C2, 5dc in C1 (50)
Row 28: 19dc in C2, 12dc in C3, 15dc in C2, 3dc in C1, 1dc in C2 (50)
Row 29-31: 19dc in C2, 12dc in C3, 19dc in C2 (50)
Cut out a disc the size of the top of the head and insert in the body, stuff Bluey’s body with polyfill and commence closing the body:
Row 32: (3dc, dec) x 10 (40)
Row 33: (2dc, dec) x 10 (30)
Row 34: (dc, dec) x 10 (20)
Row 35: dec in each sts (10)
Row 36: dec in each sts (5)
Sew remaining stitches together to close and pull yarn through body.
For added detail: you can stitch or crochet around Bluey’s belly afterwards to give a more definite shape.
SNOUT
Starting the project in black yarn, going back and forth down the row.
Row 1: ch5 (5)
Following rows all start in 2nd sts
Row 2: 4dc, ch in C4 (5)
Row 3: dc in C4, 2dc in black, dc in C4, ch in C4. (5)
You can finish the remainder of Bluey’s snout in C4
Row 4-9: 4dc, ch. (4)
Continuing around the base of the snout, starting into second sts.
Row 10: inc, 2dc, inc, down left side of nose between each row do 8dc, along the black top of nose 4dc, down right side of nose between rows 8dc. (26)
Row 11: 26dc. (26)
Row 12: inc, 4dc, inc, 20dc. (28)
Row 13: 28dc (28)
Slip stitch, lightly stuff with polyfill and sew nose onto body.
For this step we have slipstitched the edge of the snout onto the body, but sewing the snout serves the same purpose. Make sure the top of the snout is sewn to the 10th row of the body and the bottom to the 18th row.
Extra details:
Use brown yarn and slip stitch/sew mouth onto nose, working between the 12th and 13th row.
For the nose, slip stitch around the edge of the black to emphasise its shape.
EARS X 2
INNER EAR
Project in C4
Row 1: 3ch (3)
Following rows all start in 2nd sts.
Row 2: 2dc, ch. (3)
Row 3: dc, ch dc, ch. (4)
Row 4: dc, inc, dc, ch. (5)
Row 5: 2dc, ch, 2dc.
Slip stitch, leaving long tail.
OUTER EAR
Project in C1
Row 1: 3ch. (3)
Following rows all start in 2nd sts
Row 2: 2inc, ch. (5)
Row 3: inc, 2dc, inc, ch. (7)
Row 4: inc, 4dc, inc, ch. (9)
Row 5: inc, 6dc, inc. (11)
Row 6: 10dc. (10)
ATTACHING EARS
To attach the ears, begin with sewing the bottom five stitches of the inner ear to Bluey’s head, making sure that they are facing forward.
With the outer ear, begin with the left side of the inner ear and begin to slip stitch the outer ear five stitches out from the base. Follow this with five slip stitches back to the other side of the inner ear, creating a triangular base.
To connect the two pieces together, hold the two pieces together and slip stitch five times between each equivalent row of the pieces until you reach the top.
Holding the tops of the pieces together, inc in the two top stitches, allowing the ear to make a triangle at the top. Stuff ear lightly.
Proceed to slip stitch down the remaining side of the ear, between each row five times. This final ‘row’ of slip stitches should equal 24 stitches in total. Slip stitch, cut tail and hide back into the body.
EYES X 2
Project in white.
Row 1: 4ch. (4)
Following rows all start in 2nd sts
Row 2-6: 3dc, ch. (4)
Row 7: 3dc. (3)
To attach eyes, start along Row 11 of the body, three sts away from the side of the snout.
Proceed to crochet the eyes to the body, catching the eyes and the body as you crochet.
Working around the perimeter of the eyes. Starting with the three sts on the bottom, then working between each row on the left side (six stitches), along the top three stitches, and finally six stitches along the right side.
Slip stitch and then tuck tail into body.
PUPILS
To create the pupils, select whichever part you want the bottom of the pupil to be.
In black, slip stitch into the white of the eye and then 1ch. Then work up 2dc on the left side of the pupil, dc on the top of the pupil and then 2dc on the right side of the pupil creating a circle, slip stitch into the first stitch, cut and tuck the tail away. If done correctly, this will create a defined pupil for Bluey!
ARMS X 2
Start the project in C3.
FINGERS
Row 1: 4ch. (4)
Row 2: Starting in 2nd sts, 3dc. (3)
Row 3: 4ch. (4)
Row 4: Starting in 2nd sts, 3dc. (3)
Row 5: 4ch. (4)
Row 6: Starting in 2nd sts, 3dc. (3)
Row 7: 4ch. (4)
Row 8: Starting in 2nd sts, 3dc. (3)
You should now have Bluey’s four little fingers.
ARMS
Row 9: dc in between each row in each finger, you should have a row of 4dc with four fingers attached to it. (4)
Row 10: ch, then working around the chain starting FLO with the second sts, 4dc, ch, the 4dc down the other side of the chain. You should now have the beginning of the arm. (10)
Row 11: 10dc (10)
Row 12-19: Changing to C2, 10dc. (10)
Slip stitch leaving long tail and stuff lightly. Repeat process for second arm.
When you sew the arms, do this along Row 20 and Row 19, four stitches from the belly. This will ensure her arms are evenly placed on both sides.
LEGS
Starting project in C3
Row 1: 6ch (6)
Following rows all start in second sts.
Row 2-4: 5dc, ch (6)
Now begin to work around the perimeter of Bluey’s foot.
Row 5: 4dc stitching 1sts in between each row, 5dc down the left stitches, 4dc stitching in between each row, 5dc down the remaining stitches. (18)
Row 6: BLO 18dc. (18)
Row 7: 18dc. (18)
Row 8: 5dc, 6dec, dc. (12)
Row 9: 12dc. (12)
Row 10-17: C2, 12dc.
Slip stitch and lightly stuff. Sew onto bottom of body.
EYE BROWS X 2
Using C3:
Row 1: mc4 (4)
Row 2: inc in each sts (8)
Row 3-5: 8dc (8)
Row 6: dec in each sts (4)
Slip stitch into first stitch, cutting and leaving long tail, sew onto face just above the eyes.
TAIL
Start project in C1:
Row 1: ch5 (5)
Row 2: Starting in 2nd sts, 4dc, ch, 4dc, dc (10)
Row 3: inc, 2dc, inc, dc, inc, 2dc, inc, dc (14)
Row 4: inc, 4dc, inc, dc, inc, 4dc, inc, dc (18)
Row 5: inc, 6dc, inc, dc, inc, 6dc, inc, dc (22)
Row 6-8: 22dc (22)
Change colour to C2
Row 9: dec, 17dc, dec, dc (20)
Row 10: 20dc (20)
Row 11: dec 15dc, dec, dc (18)
Row 12: 18dc (18)
Row 13: dec, 13dc, dec, dc (16)
Row 14: 16dc (16)
Row 15: dec, 11dc, dec, dc (14)
Row 16: 14dc (14)
Row 17: dec, 9dc, dec, dc (12)
Row 18: 12dc (12)
Slip stitch, leaving long tail. Lightly stuff with polyfill and sew onto back of her body. To line up, correctly, sew vertically between Rows 29-32 and in the centre of her back.
Now bring all remaining pieces together!
Congratulations! Now you have your very own Bluey… FOR REAL LIFE.